
Canning: what you NEED to get started

“Cowboy Candy” - sweet pickled jalapenos
“What do I need to get started?”
We all see this question regularly online, people have been seeing canning and preserving all over the place and want to give it a red hot go. I was there too!
Like many new hobbies, starting small and building your kit over time is a wise way to go. But what do you need to get started, what’s nice to have, and what’s a bit pointless?
Here’s a 3-second overview of my canning journey and building up my kit
I started doing quick fridge pickles that didn’t need ‘canning’. I started to understand the flavours I liked to work with, how to make pickling liquids etc. All I needed to start doing this was a few jars & lids.
I quickly moved into water bath canning to make some of these pickles shelf-stable. I also tried my hand at some jams and some basic fruit. I bought a large stock pot and some racks off Amazon (one for the bottom and a second to allow me to stack jars if I have a lot on the go).
After a year or so, I added a pressure canner to my kit, so that I could start canning meats and meals. I don’t have a large garden, so single-ingredient canning doesn’t make sense for me (most of the time); instead, I aim to create ‘convenience meals’ (and Christmas gifts!). My pressure canner is a Buffalo 35L (there’ll be a post about this another time - it’s great, but I don’t recommend it).
The latest piece of kit I have added is a Presto electric canner. This is an investment, and for those of us outside of the US, it is a serious investment (the Australia Tax is pretty steep, plus I needed a step-down transformer). But it is amazing. Much of my pressure canning is small batch, so this gets used more frequently than my stove top canner.
What should an absolute beginner canner buy?
There’s no right or wrong answer here, it will come down to what you want to can and your budget. For someone with zero experience, I found it reassuring to start with water bathing, and then move into pressure canning.
Remember that water bathing is suitable only for acidic foods - eg. pickles, most (but not all) fruit. It is not suitable for meats or low-acid fruit & veg.
Assuming you are happy to do the same and start with water bathing, here’s what to buy to start with:


BUY A large pot will get you started and is likely to be quite a cheap option. Note that you can use ANY large pot, as long as it is deep enough to hold your jars and allow the water to come over the top by a couple of centimetres (an inch). If you already have a large stock pot, that will work! This is the link to the one that I bought.
MAYBE BUY If you have a bit more money behind you, consider a steam canner. It may be a bit more limited regarding the number of jars versus using a pot (depending on how large your pot is), but it is much lighter and requires less water and energy.
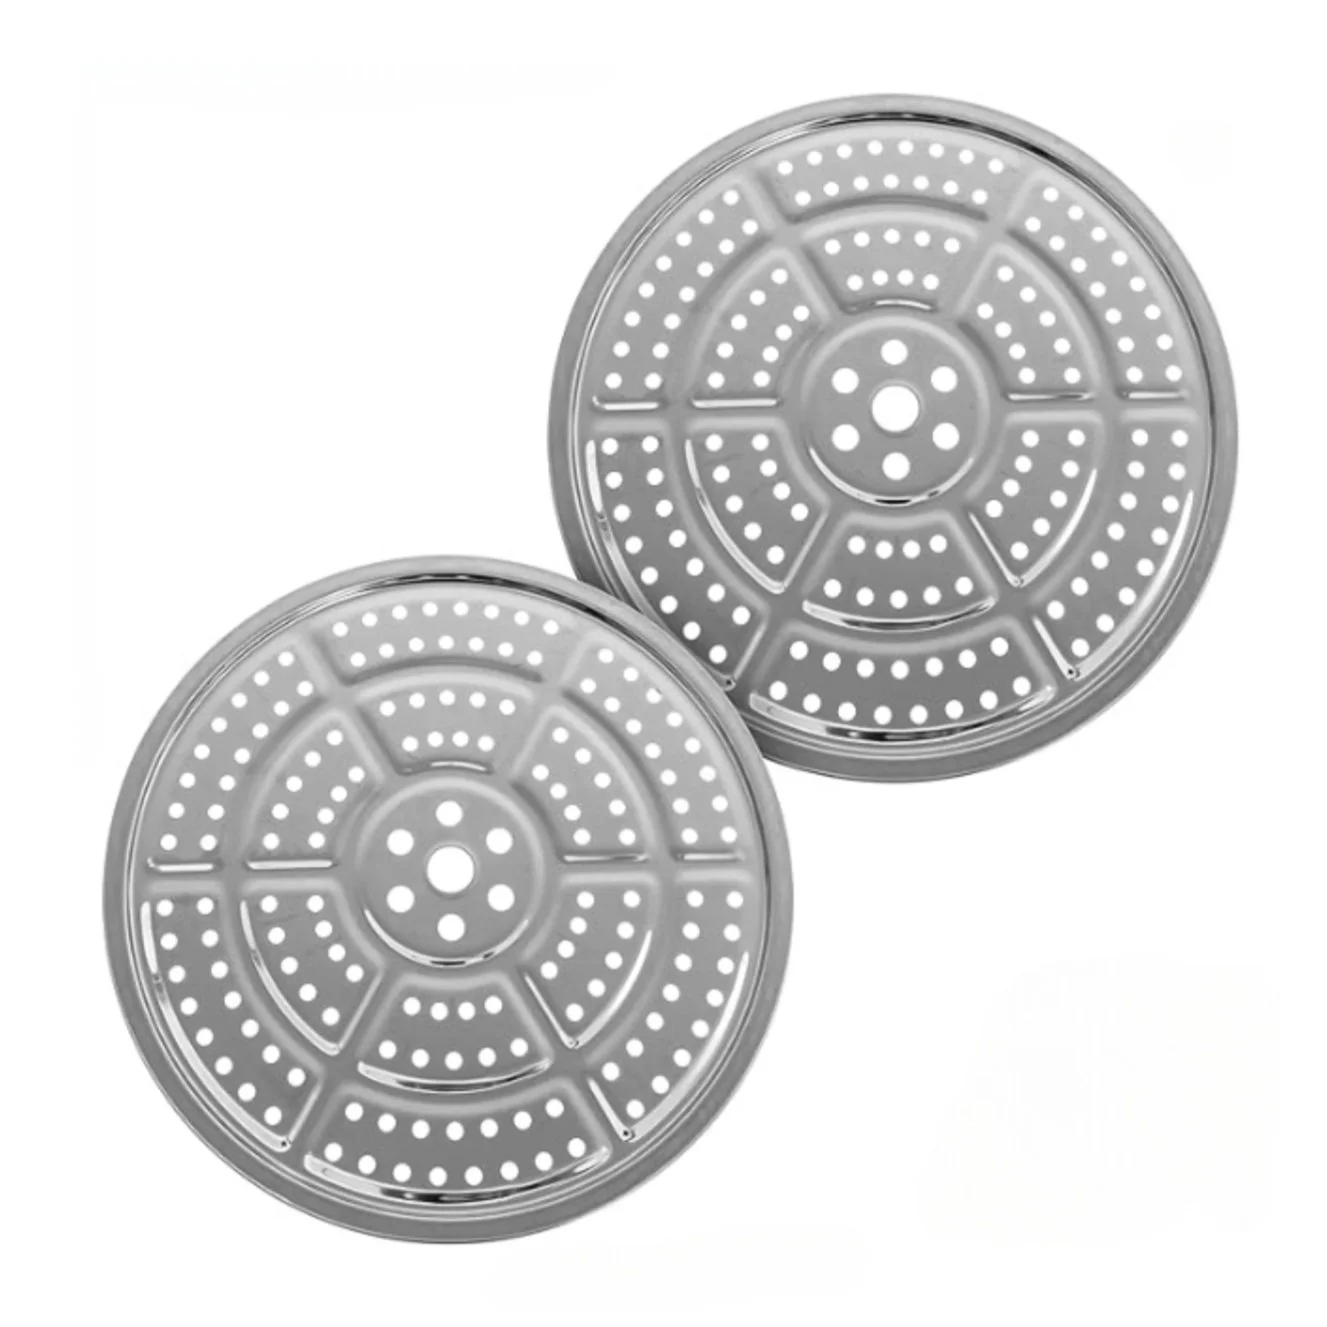
BUY Pot rack. You need to keep jars off the bottom of the pot; I tried the ‘tea towel in bottom of pot’ method my first couple of rounds. It drove me mad! The tea towel kept escaping from under the jars. The racks I have pictured are under $15AUD from Amazon - they will make your life so much easier! No more escaping tea towels and allows you to stack jars two levels high. Link to them here
BUY Jars and lids - choose your system; mason jars with two-piece lids are my personal preference; however, they have been expensive in Australia in the last few years. Fowlers Vacola jars & lids can be used for water bathing and for pressure canning; as FV is an Australian company, there are still bargains to be found in second-hand shops and on Facebook marketplace. You can also use recycled jars with lug lids from the supermarket.
BUY Jar tongs - yes, you need a set of jar tongs. Trying to use regular cooking tongs or anything else is simply dangerous.
MAYBE BUY Debubbling tool: you need a debubbling implement, but this doesn’t have to be a dedicated purchase. I have the Ball one, which is handy as it also has the headspace measures. But failing that, any non-metal utensil will do - I often use a wooden chopstick.
BUY Canning funnel: must buy. I have two stainless steel ones I picked up on Amazon, a set advertised as ‘regular mouth’ and ‘wide mouth’. I never use the regular mouth one - save your cash and drawer space, just get a wide-mouth one. Link to one the same as mine (but in the single pack).
Additional things you will need - but probably already have around the house
Tea towels and cloths - I try to have a few at hand to grab throughout a big canning session
Old bath towel(s) - these are great to put your jars on while they are cooling
Ladle - for filling jars
Oven glove (not mit) - optional, but handy. I have a pair of oven gloves that come in handy when I’m filling - if I touch a hot jar when filling, these are nice to have. The glove style gives you a lot more dexterity than a mit.
And what you don’t need to buy:
Lid lifter/magnet: I have one, and I use it very rarely. A regular set of kitchen tongs will do.
Jar lifter/basket: these are designed to go in your pot. Personally, I went with the cheaper option with the racks above and they work very well. If you are considering buying one of these, get one with the ‘bent arms’ allowing you to lift the basket and hook it on the side of the pot while you unload.
Canning doesn’t need to be cost-prohibitive if you’re smart about your purchases and build up your kit over time.